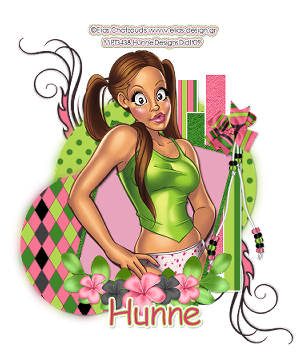
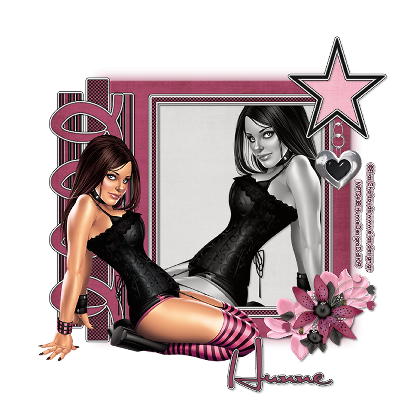
Summer of Colors


This tutorial was written for those with the working knowledge of PSP.
Supplies Needed:
PSP 10 (or any version)
Tube of choice
I am using the artwork of ©Elias Chatzoudis www.elias-design.gr which can be purchased at MPT here. Do not use this his artwork unless you are a licenses holder with MPT.
Template "Framedup" by Scdesignz, which you can find here.
Scrap kit called "Summer Melon" by Fantasy moments here
Font " Aspire" which is a free font. Or font of choice.
Filters Needed
Eye Candy 4000-Gradient glow
Dropshadow used in this tutorial. V&H 2, Opacity 50, Blur 5.00, Color-Black.
Let's get started:
Open template. Shift-D to make copy. Close original. Image-Canvas-Size 750x750. Can resize later.
Click on raster layer 2. Selections-select all-float-defloat. Open paper 29. Copy-paste as new layer-selections-invert-delete. Select none. Delete raster layer 2.
Click on Copy of Vector 1. Apply gradient glow with this settings. Width-3.00, Corners-0, Overall-100, Color-Black.
Click on raster 3. Selections-select all-float-defloat. Open paper 21. Copy-paste as a new layer-select-invert-delete. Select none. Delete raster layer 3.
Click on Copy of vector 1. Add gradient glow like above.
Click on raster 5. Selections-select all-float-defloat. Open paper 10. Copy-paste as new layer. Selections-invert-delete. Select none.
Click on copy of vector 1 (which is just below the frame). Apply gradient glow like above. Then add dropshadow.
Click on magic wand, click on back on raster in which you added your last paper. Click on the first square. Selections-modify-smooth, with these settings. Amount-3, Corner-5, check anti-alias and Preserved corners. Click ok. Copy-paste as new layer your tube. Selections-invert-delete. Select none. Do this same step two more times with the other two squares.
Click on raster 4, which is the circle dots. Add dropshadow.
Copy & paster your main tube. Making sure your on top layer. Resize if needed. Add dropshadow.
Add an elements of your liking. Dropshadow.
Add your name. Copyright info. Layers-merge-visible. Same as a jpg or png.
I hope you enjoyed this tutorial. I enjoyed making to for you. Created by Hunne Designs on July 30, 2009.


